Configuring macOS Big Sur for Software Development
Configuring macOS Big Sur for development can be accomplished in many ways and certainly varies based on the kind of development work that you want to do. Building on my earlier post for prior versions of macOS, here’s my take on how to get a MacBook Pro on Big Sur ready for software development in a way that makes it easy to stay up to date with patches and the never ending updates to frameworks and tools.
My Big Sur Machine
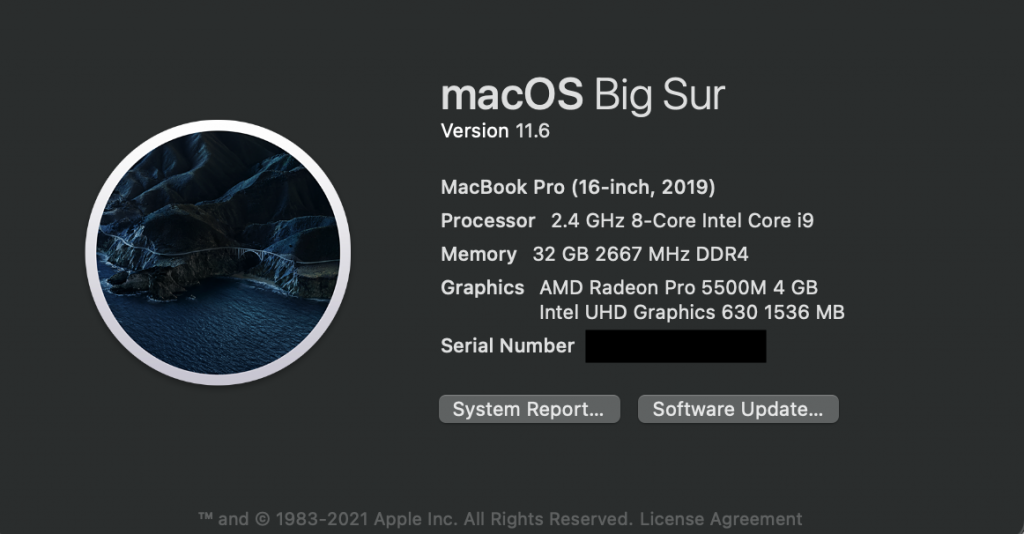
The inspiration for this post is that I have a brand “new” MacBook Pro that my company gave me to replace my aging and very worn out 2017 MPB. I’m so happy to have a new keyboard and a battery that will last longer than 30 minutes.
I say “new” because the machine I have is a 2019 Intel based machine, not an Apple silicon M1. After thinking about it, I thought about being a guinea pig and decided to go with this machine. Its like buying the last model year of a car before a re-design. Its fully baked, but maybe the next gen will be awesome. Maybe the next-gen will be full of recalls…well I went with the 2019.
I can already tell that I like this keyboard much better than the 2017 butterfly keyboards. This machine has a bumped up processor with 2x the cores and 32GB of RAM that should make Docker and Parallels super happy. The screen seems nice, slightly larger and with smaller bezels. It will take some time to really tell if this makes me more efficient/effective.
So, what is it that you do with Big Sur?
The kind of work I do varies quite a bit. Innovation, strategy, next generation technologies is mostly what I am looking at. I combine this with some personal projects, but I have my own machines for that stuff.
Currently I am doing a lot of work with NodeJS, Dart/Flutter, web frameworks, WordPress of course, Kubernetes and other cloud native tech, and some Python. So I’ll walk through setting up my machine so that when I forget what the heck I did I can come back here and remind myself 🙂
Big Sur Basics
If you are working on macOS, it is always best to start with the basics. Working with Xcode and its tools is the place to start. I installed Xcode first. When that completed, I ensured that git was installed by opening Terminal and checking to see if git was there. I don’t really use Xcode very much (signing an app occasionally), but I still recommend installing it.
This is a new MacBook Pro so I will need to generate new SSH keys and add them to my github account. Github’s instructions worked perfectly with Big Sur. Don’t forget to remove the old keys if you will not use the old machine again.
After Xcode was installed, I checked to see what else was on my machine. To do this, in Terminal, type “java –version” to see if Java is installed. Do the same with Python and PHP. On my machine, Java was not installed (good!), but Python 2.7 was installed. An old version of PHP (7.3.9) was also installed. I’ll replace both Python and PHP with a modern version later on. Ruby is there, but for now I’ll leave that with the Apple default.
Next up is Homebrew. I will install as many things as possible with Homebrew because this makes the task of updating things so much easier. You can install Homebrew with a simple curl command:
/bin/bash -c "$(curl -fsSL https://raw.githubusercontent.com/Homebrew/install/HEAD/install.sh)"You will need sudo rights to install this.
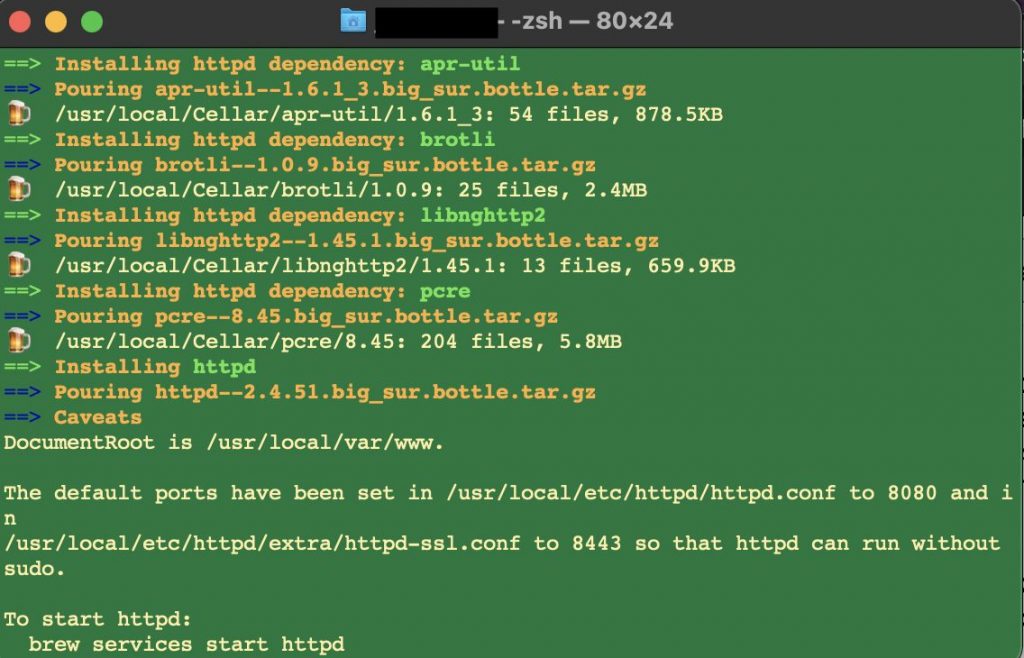
To conclude the basics, use Homebrew to install Java (OpenJDK) and Apache httpd:
brew install java
brew install httpd
Re-display the install notes and instructions brew puts out for you (for example how to start the Apache httpd) with the command:
brew info packagename (ex. httpd)It is important to review these notes. Sometimes they include configurations/settings that you need to implement. The Java install, for example, has instructions for adding PATH settings to ensure that this version of Java is found first.

For the Apache httpd installation, the main configuration file is in /usr/local/etc/httpd. I changed the location of the web root to a folder in my home directory. I do not use the cgi-bin so I leave that as is.
Big Sur Advanced Options
So, the basics are installed at this point. Next I will install a series of brew packages:
- node (this installs both node and the node package manager)
- python
- php
- cmake
- azure-cli
Then I will install a series of downloaded binaries:
- Jetbrains IntelliJ Ultimate ($$$)
- Android Studio
- Parallels Desktop ($$$)
- Slack Desktop
- Diagrams.net Desktop
- Visual Studio Code
These installers should all install no problem. Be certain to pick the right versions for the processor type in your MacBook Pro. The ones with $$$ cost money. There is a Community version of IntelliJ.
After installing PHP, you need to configure it to work with Apache to process PHP code. There are a lot sources out on the interwebs to look at, but none of the ones I found exactly matched for Big Sur + PHP 8.0. First step: after installing everything above, close all your terminal windows and open new ones – this will reset environment variables.
Check your environment with the “set” command in Terminal to make sure that /usr/local/bin and /usr/sbin come before the defaults (usr/bin and /sbin).

In your httpd.conf file, ensure that mod_rewrite module is enabled. The php module also must be listed (LoadModule php_module /usr/local/opt/php/lib/httpd/modules/libphp.so) and enabled.
I prefer to move the doc root to my home directory. To do this you need to change the User to your username and the Group to staff.
Then find the DocumentRoot entry update it and the Directory entry immediately following it. In the same block change the AllowOverride to All. In the DirectoryIndex add index.php. Finally below that add this block:
<FilesMatch \.php$>
  SetHandler application/x-httpd-php
</FilesMatch>
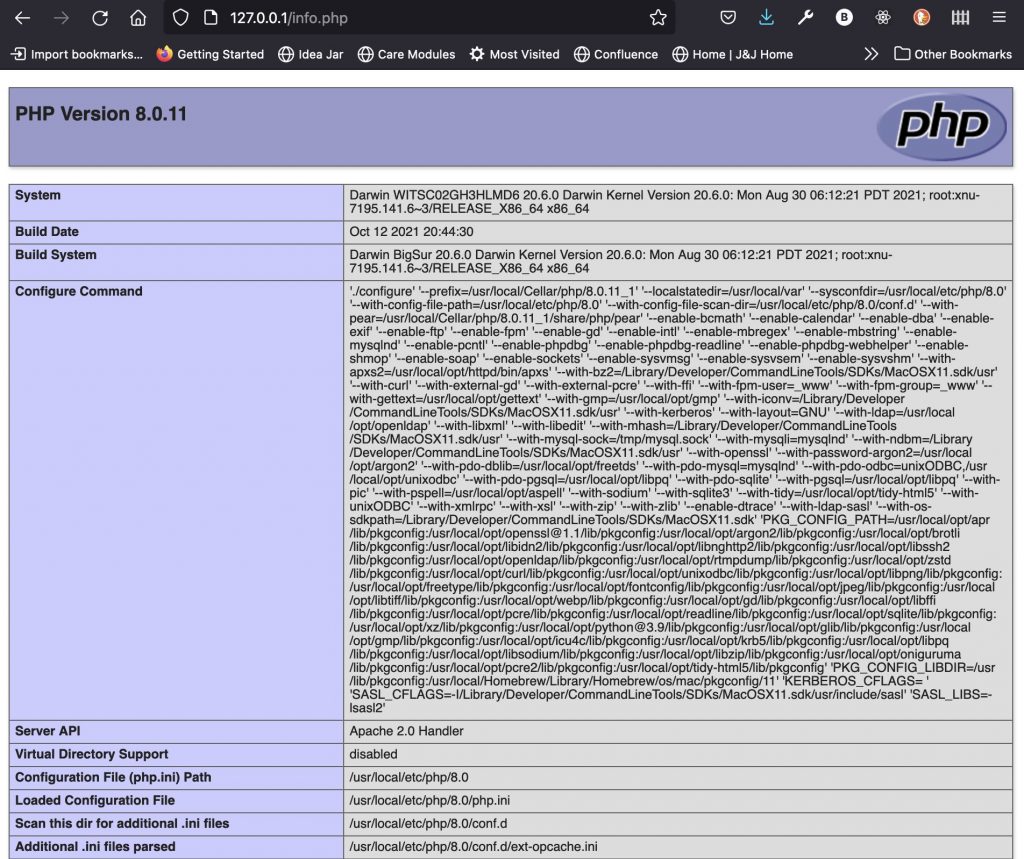
With that php should execute in the browser. You can create a quick php file with a call to info.php to test it:
<?php

phpinfo();
I also set httpd to listen on port 80 by changing Listen from 8080 to 80 and setting ServerName to localhost. With that you should be able to see the output from the call to phpinfo().
Big Sur Guru Options
LOL – yeah well as we go along some things get easier and those are replaced with more complicated things. I’ve been doing a lot of work with Flutter, so my final step is to get Flutter working. You can check the instructions on flutter.dev, but then there are a few things that you need to do. I extracted the Flutter download in my home directory, added added the bin folder to the path in the .zshrc file.
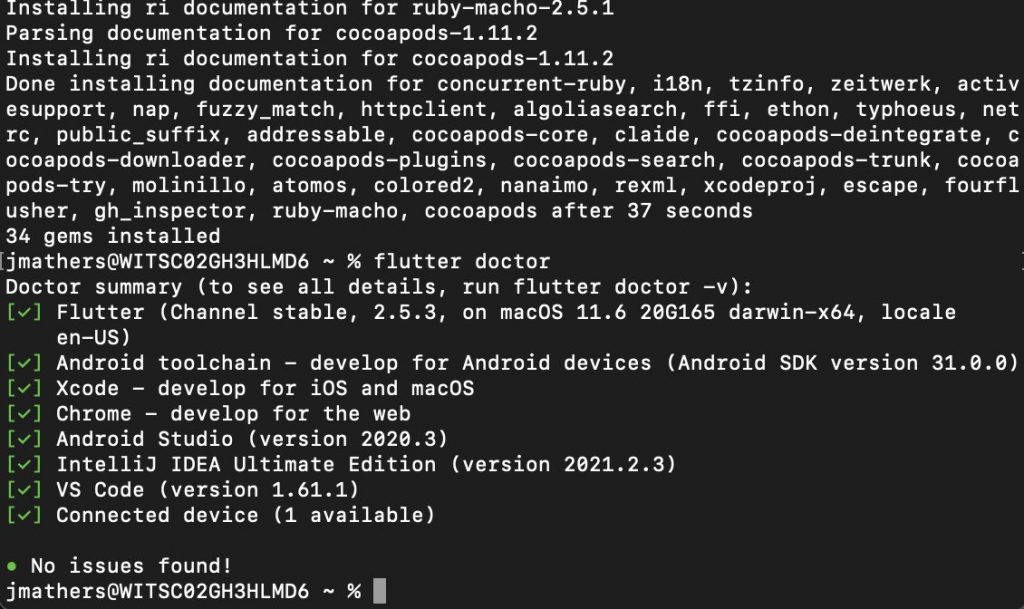
From there “flutter doctor” is your friend. I went back to the Android SDK manager to add the command line tools and then had to install cocoapods with this command:
sudo gem install cocoapodsFinally, the doctor will give you all the needed instructions to accept license agreements. With that your MBP should be ready to go – don’t forget all those plugins in VS Code and Android Studio 🙂 Keep Flutter up to date with “flutter upgrade”. Happy coding !
What’s Next with Big Sur?
I’ll keep updating this as with previous “configuration” posts that I have created. Homebrew keeps getting better so kudos to those guys. There are a lot of GUI based installers that I used above and that is actually concerning because it means more work. I could have installed some of these with brew, but the process seemed pretty complicated. All brew installed packages can be updated with the commands:
brew update
brew upgrade
I can definitely say that this new MacBook Pro’s keyboard is so much better that I will be doing a lot more posts!


