Brewing with PicoBrew Pro
Santa came to Tarn Aeluin with a PicoBrew Pro brewing appliance. I’ve brewed beer the old fashioned way (pots, pans, carbuoy’s, etc), but let’s try it with the latest and greatest in home brewing technology and see how this machine compares to “old school”.
Background on PicoBrew Pro
I learned about PicoBrew at CES in 2016. It was a top winner of best technology. Back then the machines were pretty expensive and larger. The original machine (the Zymatic) was targeted at small scale commercial brewers like Sam Adams or Dogfish Head, as a pilot plant for testing recipes
PicoBrew Pro is the same machine, but scaled down for use in the home. PicoBrew Pro also has “PicoPacks”, which are pre-made recipes from breweries all over. You buy them online, they arrive, and you slide the packs into the machine and hit “go”. Its like a Keurig for beer!
I got the PicoBrew Pro, which I highly recommend. Pico C is a lower cost option, but I think you’ll just end up buying all the stuff that comes with PicoBrew Pro anyway. So they will get you either way and its overall a more capable machine.
Getting Started with PicoBrew Pro
Setting the machine up is super simple. Stick it on any counter or table – it does not need a water connection (more about that later). It fits under standard cabinets with plenty of room. Plug it in and connect it to the internet. It displays a code you need to register the machine on-line. After registering PicoBrew pro you can setup a profile and then monitor your brews from a web browser. You have to connect the PicoBrew Pro to the internet so that when you slide a PicoPack in the programming can be downloaded to the machine for proper brewing of that specific PicoPak.
24-hours after registering you will get a coupon code for CO2 canisters. I ordered some right away…figure I will use them. The PicoBrew Pro needs the 74g canisters. The canisters seem a bit expensive so I’ll be looking for alternatives.
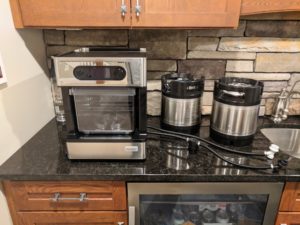
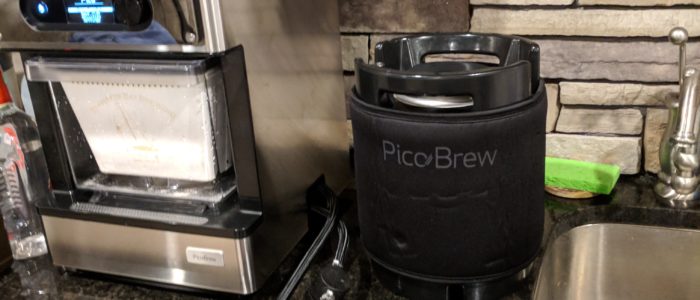
In my case the unit will go in my beer grotto and bar area in Menegroth. In the pic above you will see a sink placed right where it needs to be. This will really make prep- and cleanup super easy. I will store all the accessories int he cabinets. The fridge will be storing my yeast and when dry hopping – the hop satchels.
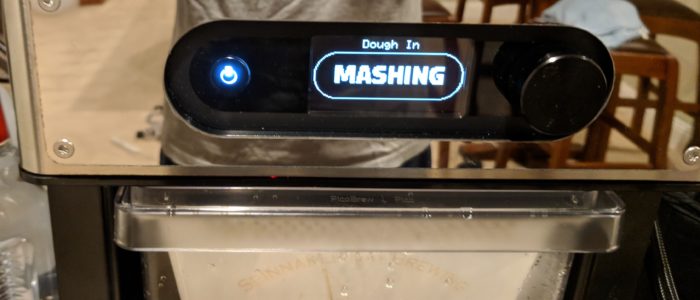
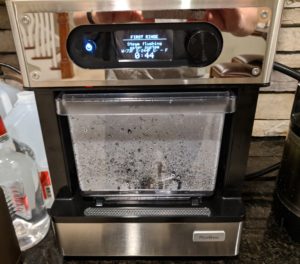 The manual is excellent and will walk you through the “First Rinse” process and then you are ready to brew. Took about 30 minutes and I was ready to start brewing up my first beer: Spinnaker Bay Brewing’s High Heel Imperial IPA. It is very straight-forward to use this device. The mini-kegs hold 3/4 of a gallon of liquid.
PicoBrew Pro’s First Brew – Spinnaker Bay Brewing’s High Heel Imperial IPA
With the first rinse done I am pretty much ready to go. You can use any type of water that you like in the machine, but the manufacturer recommends reverse-osmosis or distilled water. There are two reasons for this:
- Municipalities treat tap water with chemicals, for example Fluoride and Chlorine. These chemicals will react with the ingredients in unpredictable ways to create “off flavors”.
- Most tap water (city and wells) contains quite a bit of calcium. Because the PicoBrew Pro uses steam to heat everything, the heating elements will gunk up very quickly require descaling frequently if you use tap water.
Get a water analysis performed to see what’s in the water from a well to know if its ok to use.
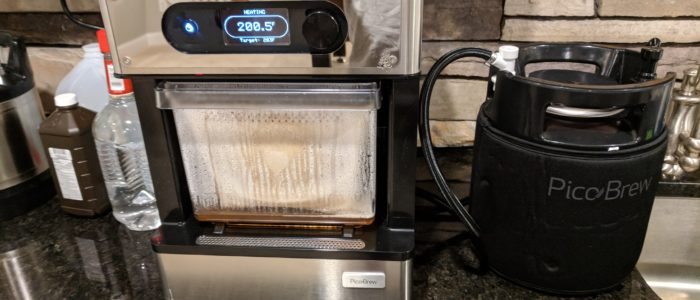
Looks like a brewing day will require 2-3 gallons of distilled water so I am going with distilled (investing in a reverse-osmosis system seems a bit over the top right now…). Fill up the keg, hook it up to the lines, and then add water to the reservoir and you are good to go. Add the malt and hops to the Filter Tray, slide it in, Picobrew will recognize it, hit “brew”…sit back and relax for 2.5 hours. Its that simple.
The brewing process lasted about 2.5 hours for this IPA. The machine communicates its status back up to the web so that if you want to do something while its going – no problem. In my case that meant playing Mario Carts with my family on our new Nintendo Switch. No doubt the 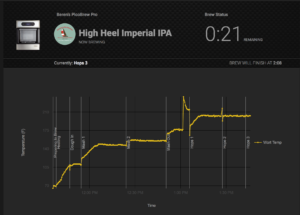 machine is pretty loud for a kitchen appliance and is similar to a very loud dishwasher. You will also get quite a bit of brewing “aroma” so if you don’t like that it is something to be aware of.
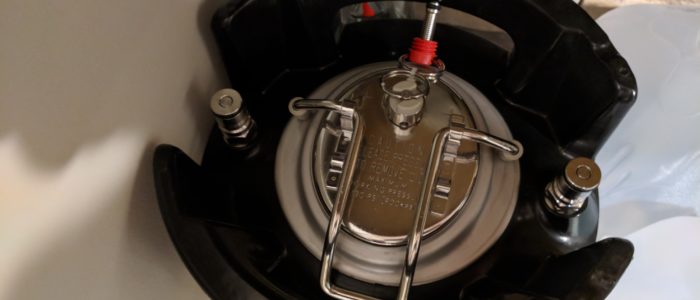
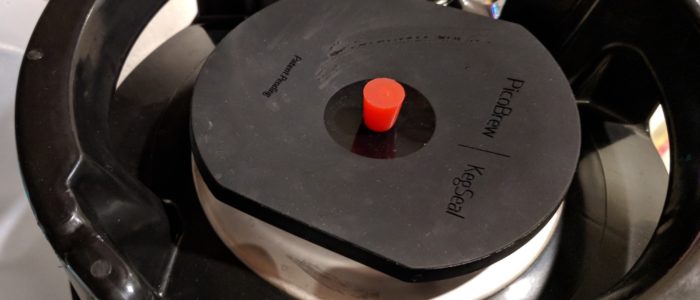
Once this step is done you need to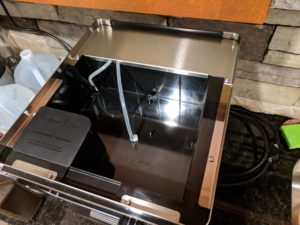 let the beer cool to room temp. Therefore a rubber lid and plug goes into the keg and we’ll wait 24 hours and then pitch the yeast. In the mean time you can clean up the machine. Dump out the grains and run a rinse cycle ending with draining out any excess water in the reservoir and lines.
Pitching the Yeast and Fermenting
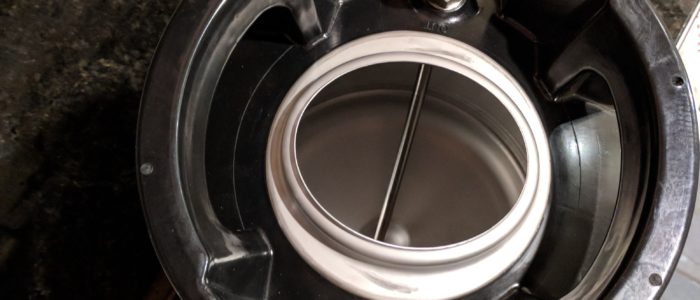
There are two different ways to ferment the wort: traditional with a water trap and “fast fermenting”. The room temp for the latter needs to be higher and since I’m doing this in the basement during the winter I’ll go with traditional fermenting. The kegs have some interesting oval shaped openings. Fast fermenting uses a metal lid that is clamped in place and has a pressure relief valve. Traditional fermenting uses a rubber lid/stopper with a traditional water/vodka trap.
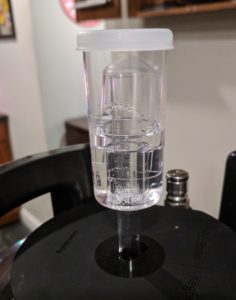 Things went pretty well with the fermenting. I was a bit worried because I expected more bubbling from the air trap. I’m used to my 5-gal tank and how much CO2 is produced. I did stick with the “regular” fermentation. I kept the air trap filled with the cheapest vodka I could find at the PA store.
Air temperatures were a bit low as well, tracking down towards the lower limits of the scale. Bubbling stopped after about 10 days in the keg.
After 4 days I did open up the keg, take a peek and toss in a bunch of satchels of hops to dry hop the beer. All looked well in there with lots of yeast.
Racking and Carbonating
The next step is to transfer the beer over to a fresh keg for carbonation and the best part – drinking!!! The first step is to put the beer in a fridge to “crash” the yeast. This generally takes 36 hours. The cold will settle most of the yeast to the bottom of the keg and make racking easier. 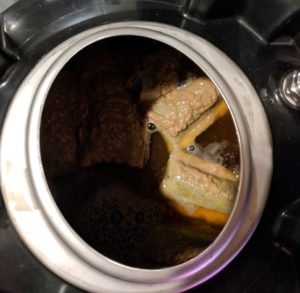
You can rack the beer (fancy for transferring it to another keg) using the PicoBrew’s pumps or just use gas pressure. I’m going to do that since it seems easier. The PicoBrew Pro comes with a CO2 regulator that attaches to the “IN” quick release port. You can configure it with 74g disposable CO2 cartridges. You can use the same thing with the supplied party tap for the aforementioned drinking part of this while business.
I sterilized the keg using StarSan. I took a gallon jug of distilled water and added 1 teaspoon and a wee bit more for the dilution. I soaked all the lines and things I’ll be using for this (10 minutes) and then dumped it all into the keg, put the lid on and shook it on and off for 10 minutes.
Attach the regulator to the in port on the keg with beer. Attach the transfer line to the out ports of both kegs. Crank up some gas (5PSI) and the beer will begin to move over. You’ll need to open the pressure relief value on the keg you are transferring too. Pay close attention and take your time with this. One there’s air in the line stop the transfer. I messed that up a bit. I think the easiest thing is to yank the line off the keg you are transferring the beer too.
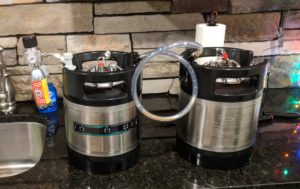 Now all you do is attach the gas to the “IN” port on the new keg and crank it up to 24PSI. I tossed the keg into me kegerator to complete the carbonation. I’m headed to CES in Las Vegas and will try the beer when I get back. Fingers crossed…
Cleanup – Very Important if you want to enjoy the PicoBrew Pro Again
All homebrewers know the most important rule: clean it once and then clean it again. Nothing ruins a beer faster than dirty equipment. I’m using a combination of StarSan and dishwashing granules (no fragrance or jetdry) to clean the crap (literally) out of everything.
You need to disassemble the keg and the manual is quite good. A 17mm open-end wrench is needed. Be sure not to over-tighten things 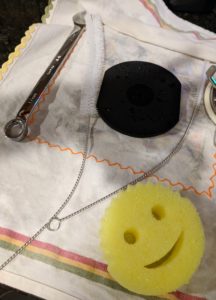 when you re-assemble. They are not on very tight to begin with. Lots of little parts to lose, but the manual has good pictures to get it all put together again pretty simple. While the smaller brush is great for the tubes, the larger brush is useless for cleaning the keg. Instead I will use one of those yellow smile things. It won’t scratch the interior, but I’ll be able to get everywhere inside the keg with it.
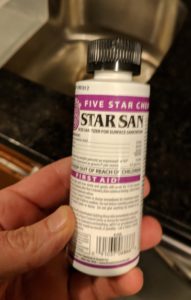 There are a ton of parts and things to clean, but it is critical to take your time and get things clean. I cleaned everything with the dishwashing granules and then I repeated the procedure with StarSan. One once of this per 5 gallons is the dilution. I figure that means a teaspoon and a bit more for a gallon. I left everything to air dry for the next brewing session when I come back from CES.
Overall Thoughts on the PicoBrew Pro
The jury is in. My first brew is decent! Its not perfect, but its pretty good. So how does PicoBrewPro perform? First of all I don’t think PicoBrew is necessarily “easier” than homebrewing using manual techniques when using malt syrup kits. I do think it is somewhat easier than whole mash homebrewing. The machine is doing a lot of work with the mash and hops. I had five hop addition steps in this brew plus all the work with the mash and such.
Cleanup is slightly easier with the PicoBrew Pro – especially the kegs and no bottles. The machine is pretty nice, but we’ll 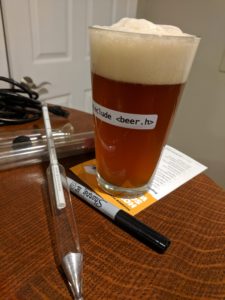
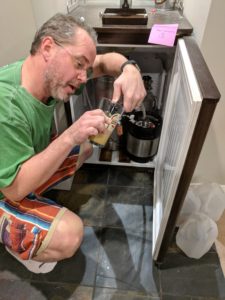 see how the beer tastes.
My first beer does appear on the “Big Beer List” page with the PBP designation. Check it out! Search for Spinnaker. Overall my beer came out as expected – it tastes like an Imperial IPA. Pretty cool!

