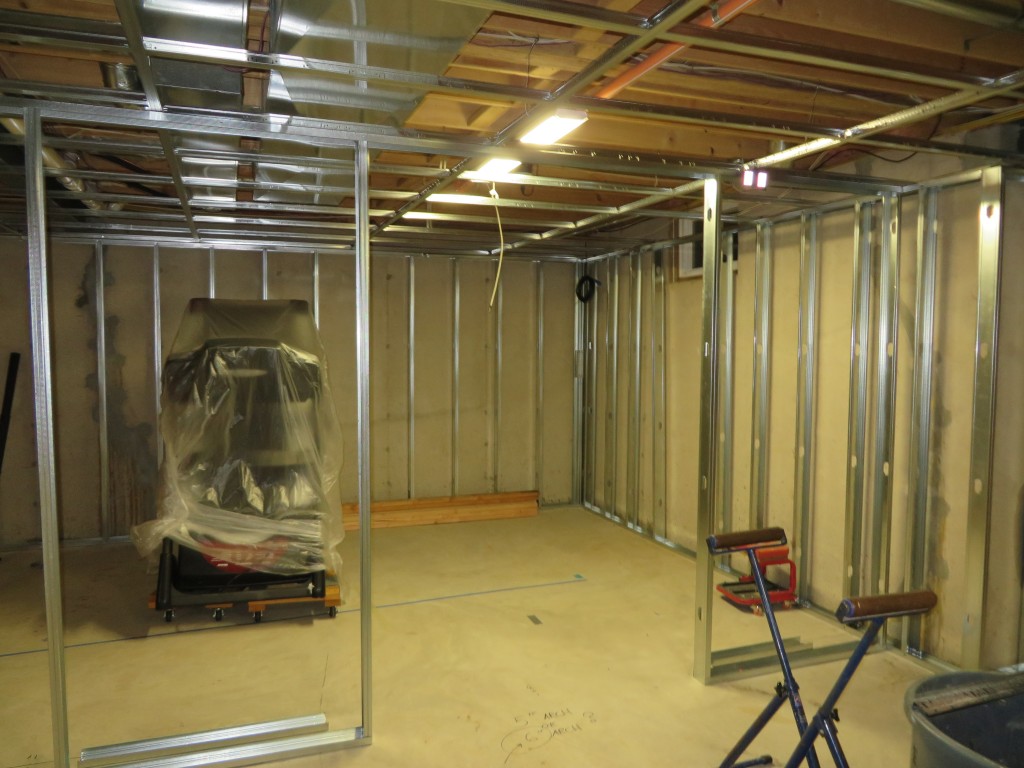
With the basic framing started there is much to do. We are starting to look at design of cabinets for the home theater and the bar. We would also like a few built ins for storage. There is lighting to deal with and making layout adjustments to door ways, arches, and switch locations.
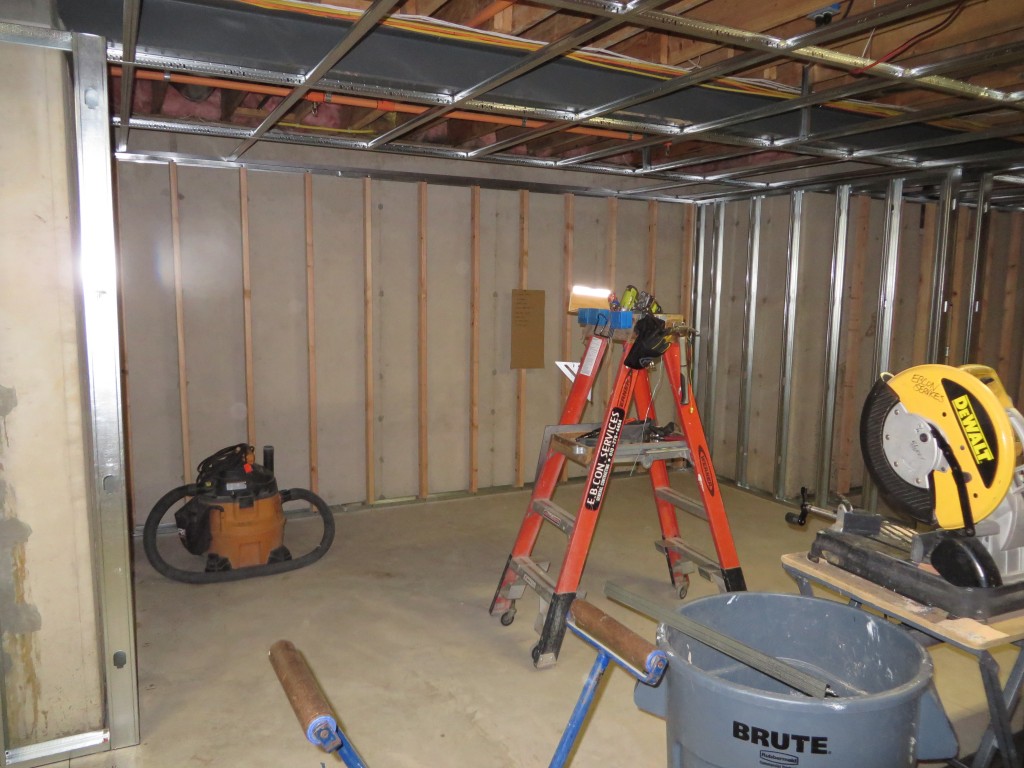
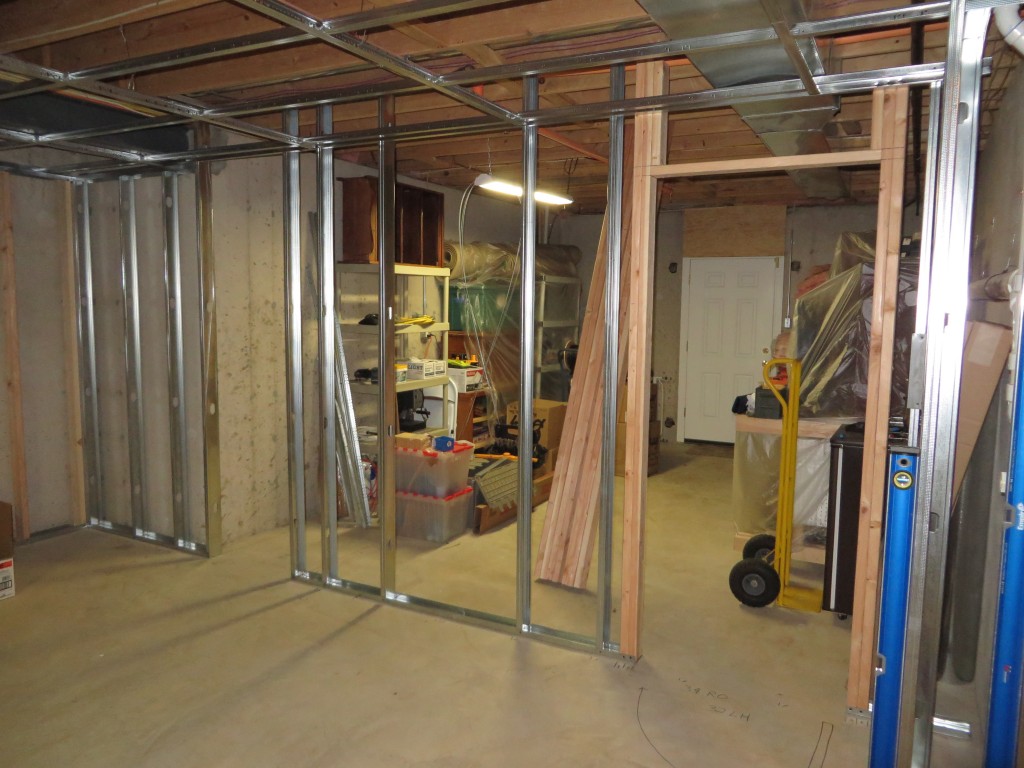
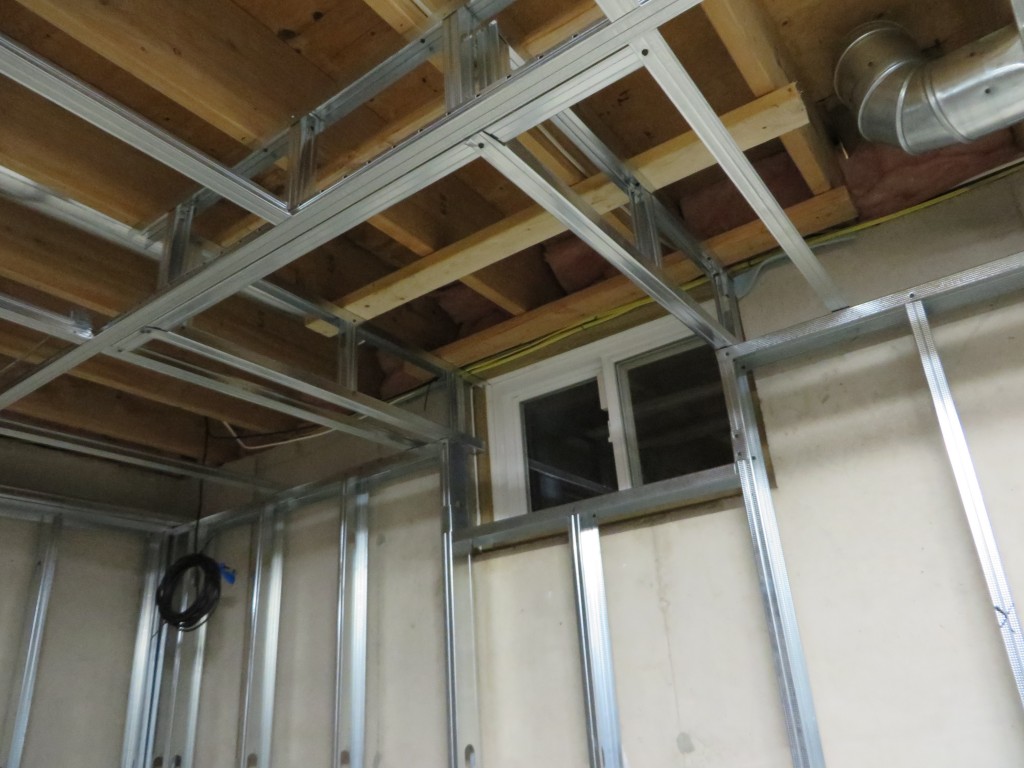
Most of our framing will be metal – with wood framing added as needed for specific areas – for example the walls where we will incorporate stone features. Most of the basic room shapes are complete at this point. Here’s a gallery of pics showing how things are going. You can see that windows are framed up, the bathroom is done, the bar area is complete too:
Plumbing Rough In
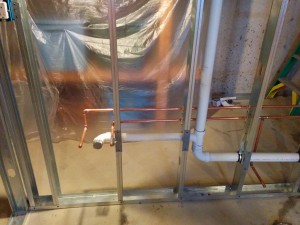
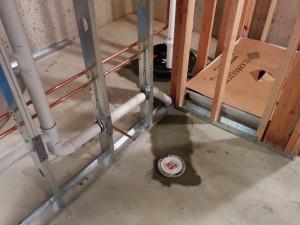
Well we are keeping one plumber pretty darn busy. Raising sewer lines, ejector pit, new water heater, and lots of other goodies. For plumbing we have a full bath plus a wet bar with a sink and a dishwasher. The bathroom is of course a big deal. It will require an “ejector pit” to get rid of all the crap (literally). To deal with this, we did something clever. Instead of running the bathroom wall all the way up against the foundation, we left a gap so that the pit could be easily accessed after construction was complete. A great idea our contractor recommended.
This step did require cutting and jack hammering the main slab. Suggestion: plan to be out for the day. Pretty loud Luthien tells me.
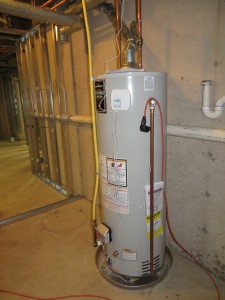
The rest of the plumbing work is pretty standard stuff. We did decide to move the water heater. The builder felt the need to place this almost directly at the bottom of the stairs. Since we were moving the heater and it is about 11 years old, we decided to get a new one and add a “stop flood” system to it. The system will detect a leak in a pan under the heater and automatically cut off the water. This can prevent a total disaster: a flood in your brand new basement. An excellent investment.
The plumbing will be copper and then venting and drains using PVC. The bathroom will be a full bath with a vanity, toilet, and shower. You can see the rough in of the “ejector pit” – the pump that gets rid of the goo above. Pretty straightforward. Once the rough is is complete then the pit lines can be filled in with concrete like in the shot below.
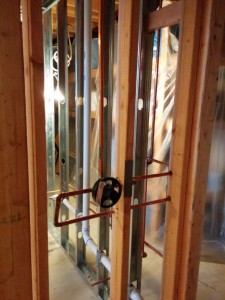
Took quite a few days for that to cure fully. The shower valve is a pretty basic one – in general we’re not spending a ton on the bathroom, but saving the $$$ for the home theater, bar, and furniture.
This layout is pushing the boundary of what is easy with the default wordpress editor. 🙂 The shower valve is an important decision so be sure to pay attention. Not every shower faucet set can work with every valve.
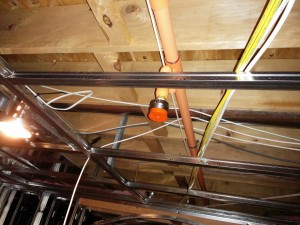
The last part of the plumbing rough in is updating the positions of sprinkler heads and switching to a head that can be flush with the ceiling. This should be done since the original heads had the glass tube exposed. Any little tap could break that tube and the system would go off. You can see in the pick that the height needed to be changed so that the head will be flush with the sheetrock. Several of the heads also were re-positioned slightly. Once the sheetrock is in a little white hat will go on top of the red head so that it looks nice.
Electric Rough In
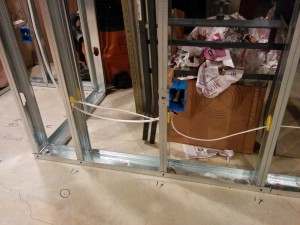
Pretty straightforward stuff here. Pretty much meeting code requirements. Most of the wiring will go in through the ceiling along the two beams or thru the metal studs. That’s a great feature of the metal studs. There are cut out holes that you can run wiring thru (rather than drilling holes in wood studs). You can also have holes in the top to thread wiring. When doing this, since the metal is really sharp, you need to use plastic inserts to protect the insulation on the wire.
The home theater wiring is probably the most interesting thing. There are two HDMI cables, 7 speaker wires, 3 CAT6 cables, 2 coax cables, and power cables all coming together in the same spot.
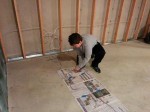
To deal with this, I had to call in some expert help 🙂 There’s my son helping to cut all this stuff while I’m measuring and running the wires. It makes sense to group all the wires into:
- Audio Cables: all the speakers for the 7.1 system can come together in a bundle. I’m using high-end monster cables since the runs are pretty long.
- Network and Video: The CAT6 and Cable coax can all go together. Basic network cables – one source from the broadband modem in my office. The other two are redundant controller cables from the receiver to the projector.
- HDMI: It is a good idea to keep the HDMI cables separate to reduce any possible chance of interference. The cables I’m using are pretty long since they have to run all the way from the receiver to the projector and to the TV in the exercise area. I’m using a 35′ and 50′ cable. Pretty long for HDMI. I’m using Monster cables – the best they have.
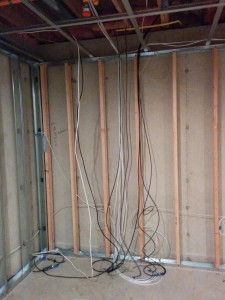
Here’s all that cabling. You can see that I have really left quite a bit of extra length. This is really important! Don’t cut the cable too short. I’ve got about 3-4′ of extra length since I’m not 100% sure where the receiver will be. I’ll also be able to move it quite a bit if I decide I don’t like where it is.
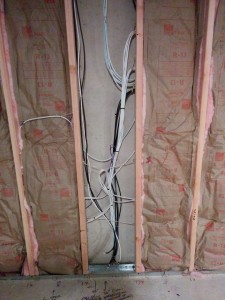
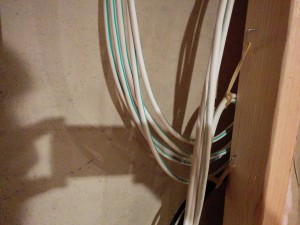
Of course – can’t leave it like that. Zip strips! Here’s a shot with the bundles all arranged with zip strips and with most of the slack tucked back into the wall. Sheetrock is coming and you want to make sure that a screw does not hit one of these wires. Eric and EBCON showed me a neat trick using staples and rubber bands to bundle up the slack out of the way so that it won’t get hit and still be easy to grab and pull thru the wall.
Here’s a detail shot of that trick:
With that the rough in is complete and we’re waiting on a few inspections and then onto the sheet rock.
The next step is to get all the cabinets in and then get the wires and all pulled back through.
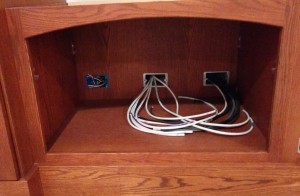
Some weeks later – about 6 we are finally seeing the wires again. Pulled through the cabinets here’s how they are arranged:


